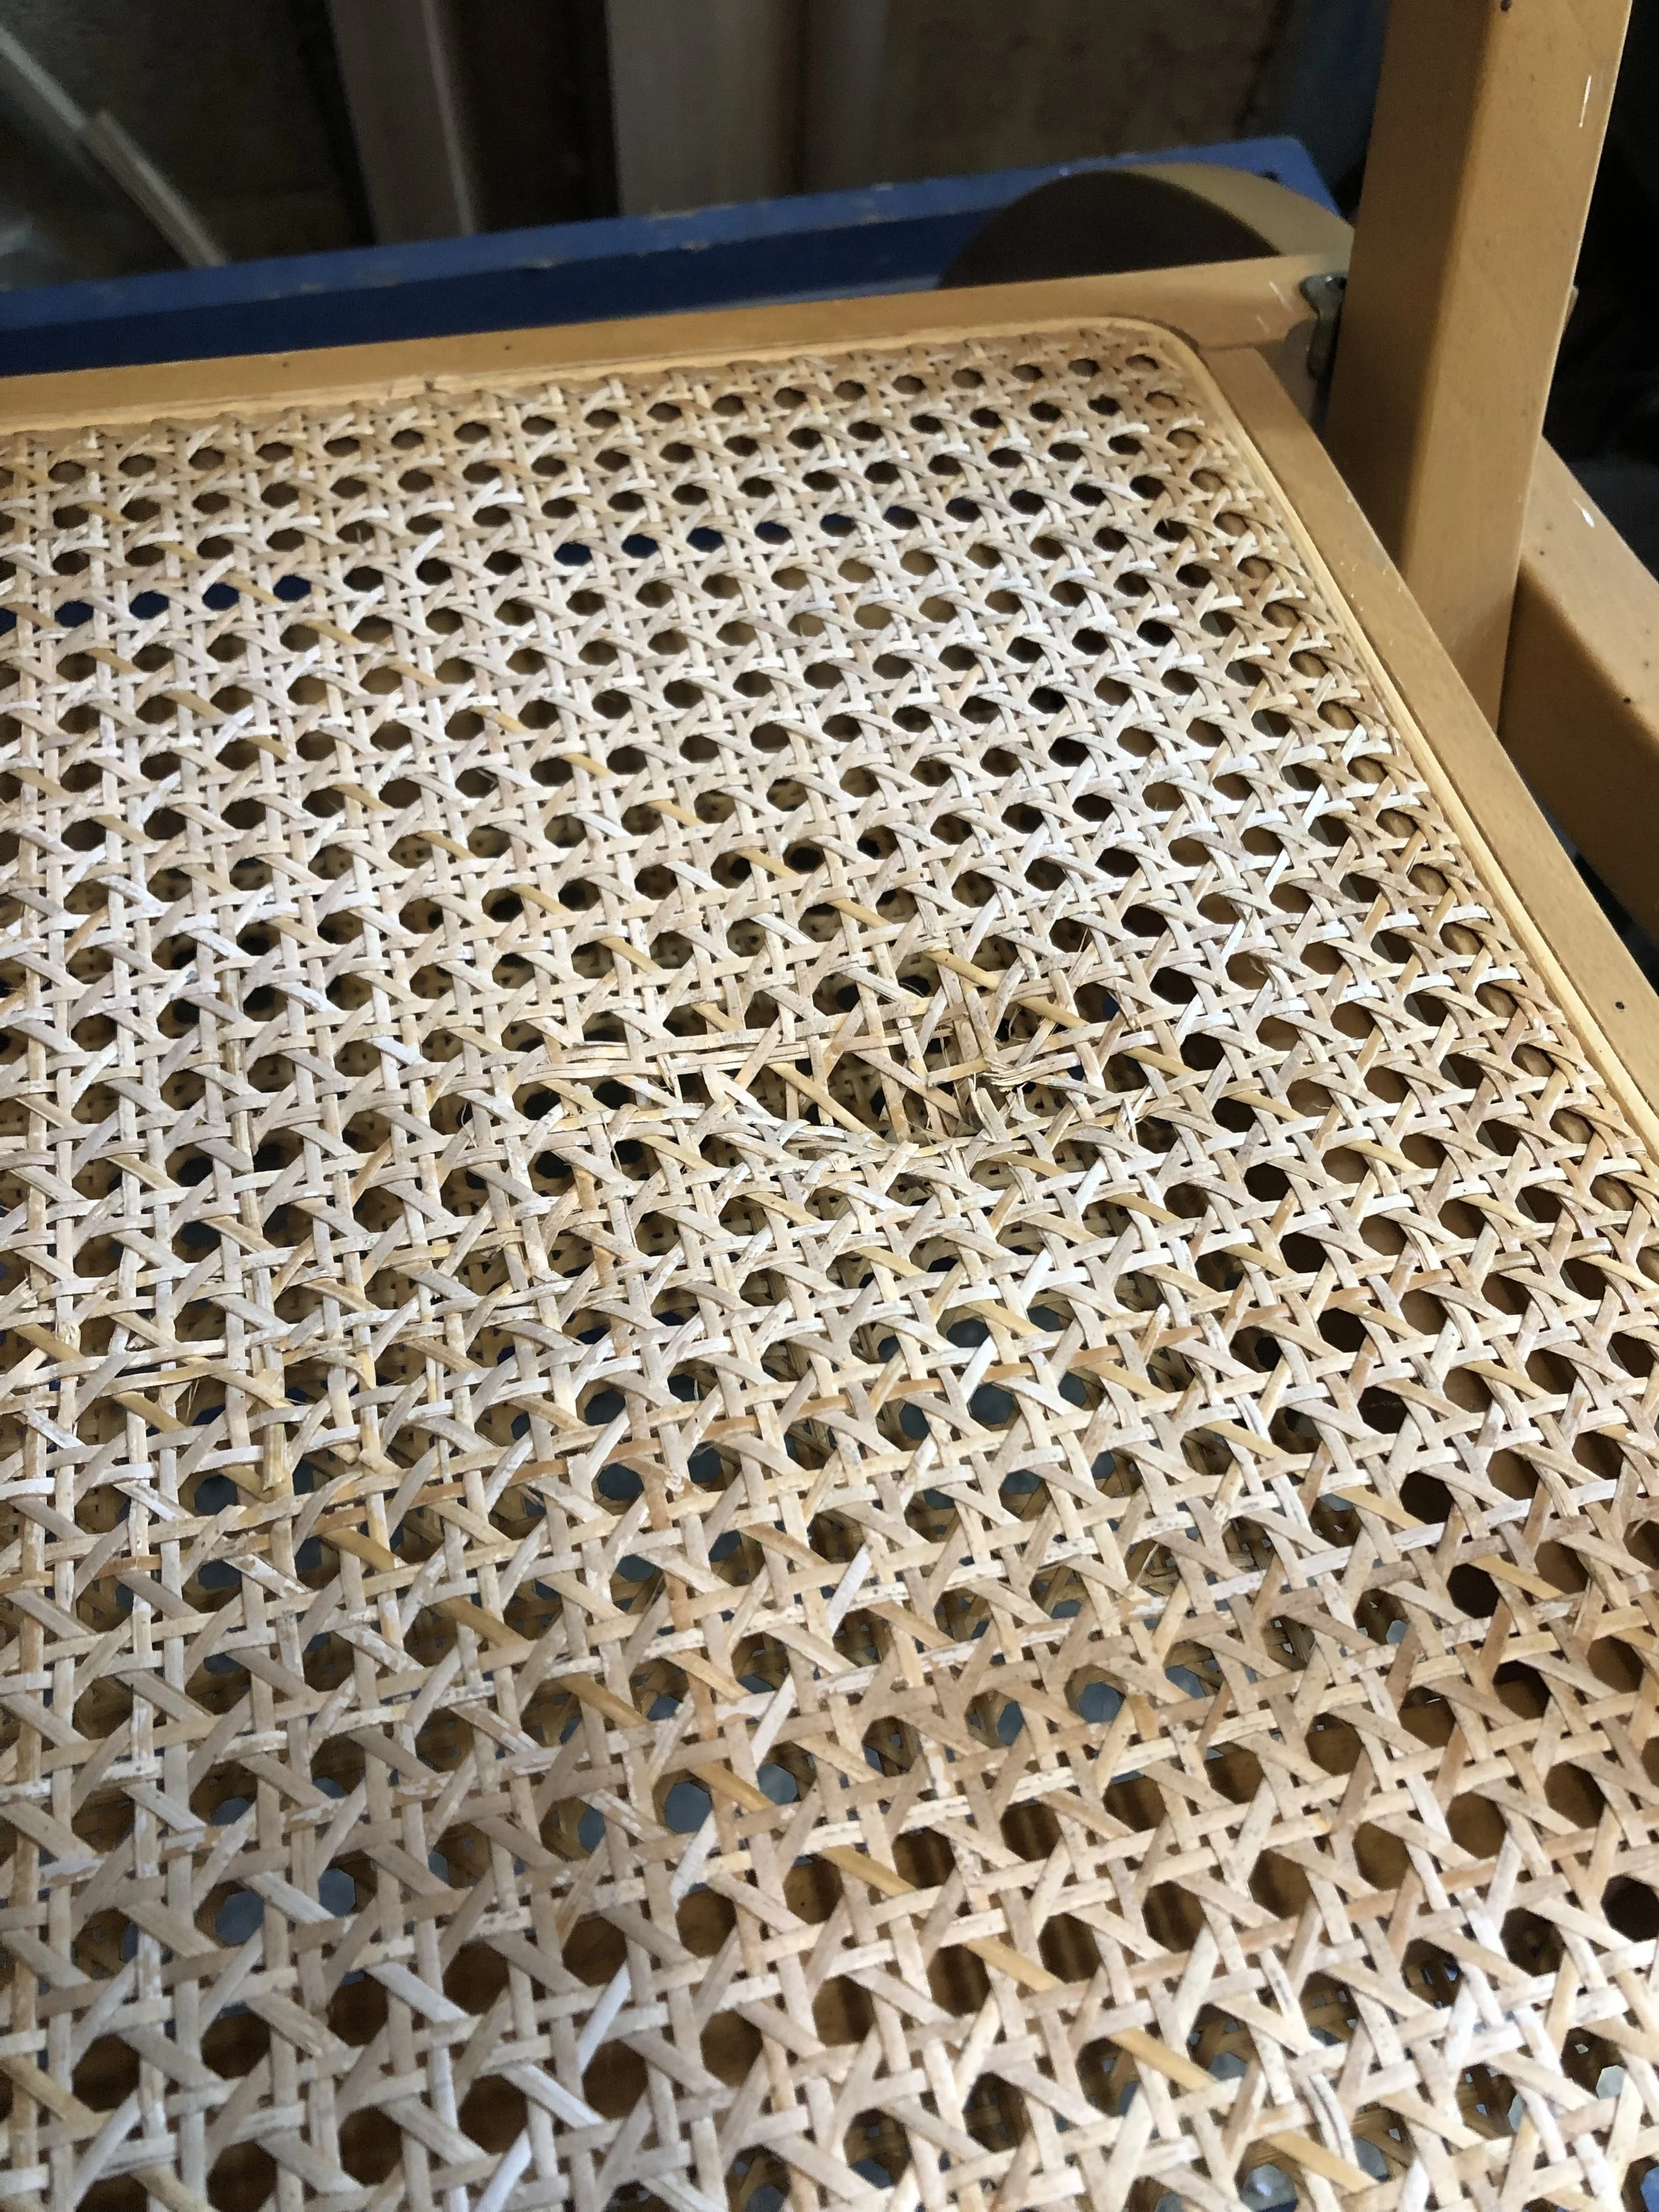
Dirty and scratched dial from a 1940s wall clock

Having just bought a lovely Junghams Boardroom clock, where the chapter ring needed restoring, I thought it was about time that I got the re-silvering skill under my belt. I needed a dial to practice on, therefore I pulled this 1940’s oak wall clock out of my stock, and stripped it down so that I could use the dial for my experiments (see picture above). I ordered in the silvering powder and finishing powder and got to work.
Using 1000 grit wet and dry, I cleaned off all the old lacquer, numerals, crud and silvering, until i got back to the original brass. I used a top to bottom motion with the wet and dry paper, to keep the finish uniform.
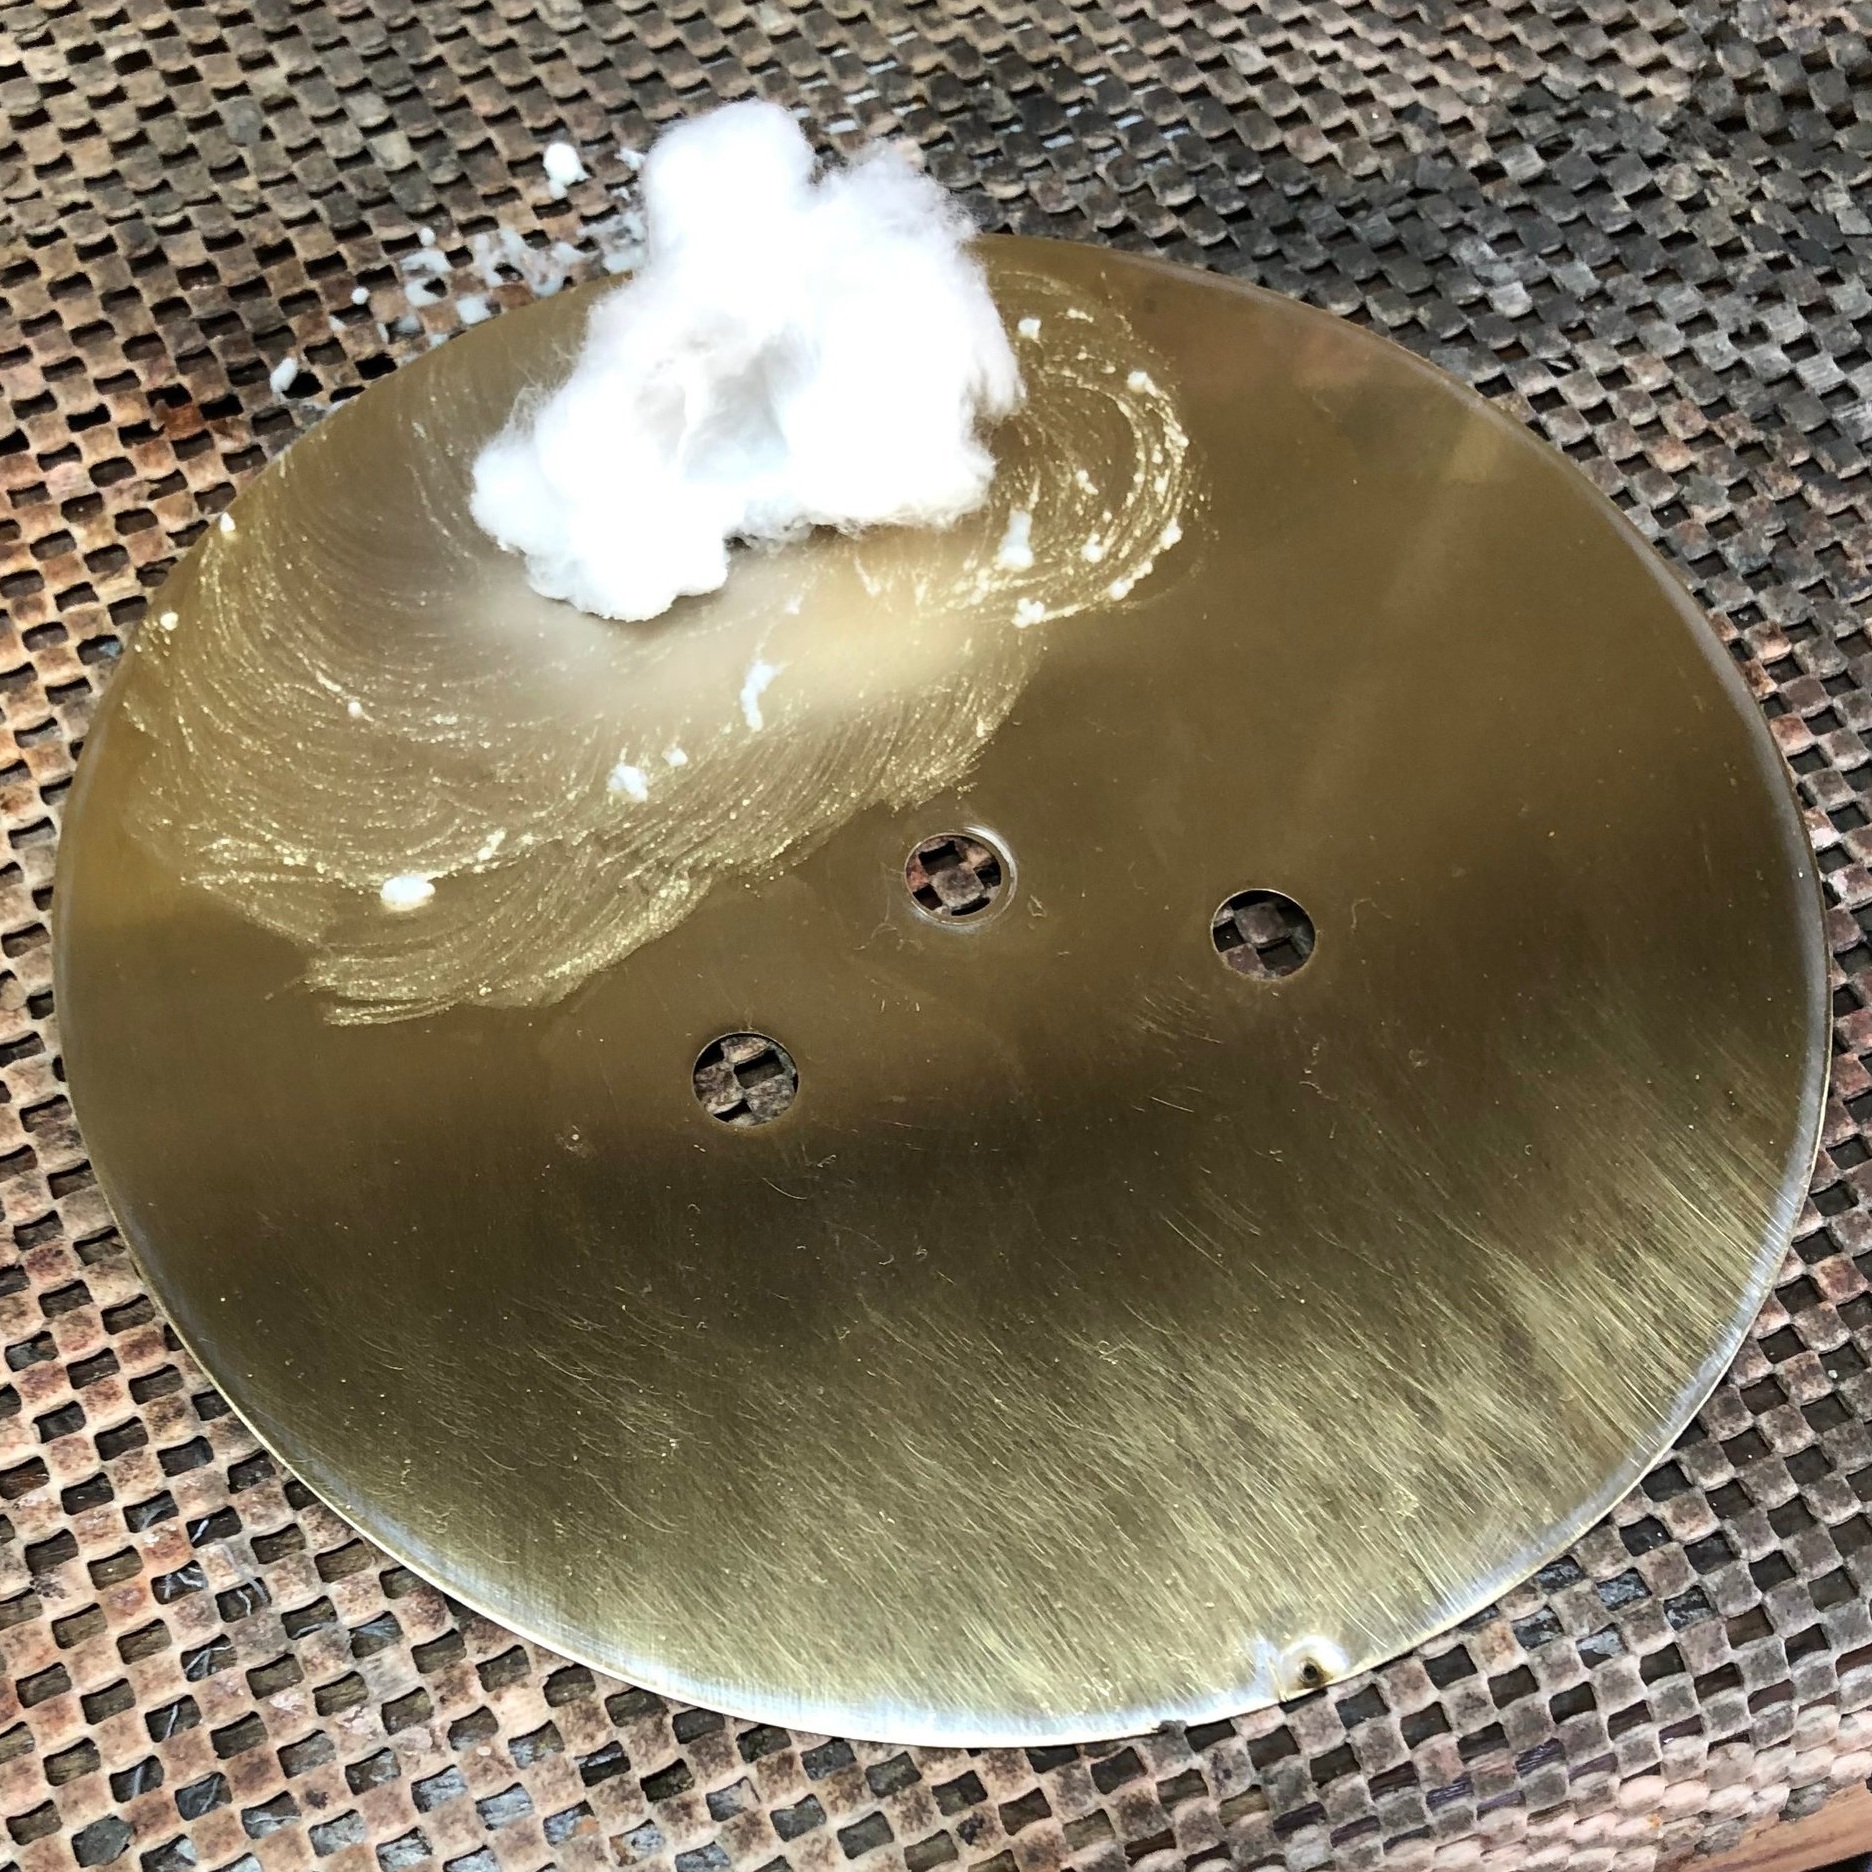
When I was happy with the finish, I did a final clean with acetone, to remove any dirt or grease.
I put a quantitiy of the silvering powder in a small dish, and using slightly damp cotton wool, charged with a little powder, started using small circular movements to the face.
It took a little while for the silver to appear, and I realised I needed to charge my pad with powder regularly, for it to take. Eventually I ended up with a uniform silver colour across the whole dial.
You have to be fairly quick at this stage, to remove any residual powder with clean water, ready for the the finishing powder.

The finishing powder was administered in much the same way as the silvering powder, but this time I used a cotton cloth to apply it, again rubbing in a small circular fashion. Once completed, again the dial was thoroughly cleaned using running water, then left on the window cill to dry for a couple of hours.

The next task was to apply the face decal.
I purchased a decal from Cousins, although it was good quality, I would have preferred black in retrospect.
I have yet to find a supplier of clock dial decals for the UK, if anyone has any recommendations please leave a comment.
Once the decal had set and cured for a while, the whole dial was given a coat of lacquer for protection.
I am very happy with the results, for a first attempt, I think this dial has come out very well, and I am now confident to go onto the more expensive Junghams dial.

Completed re-silvered dial of a 1940s wall clock.