
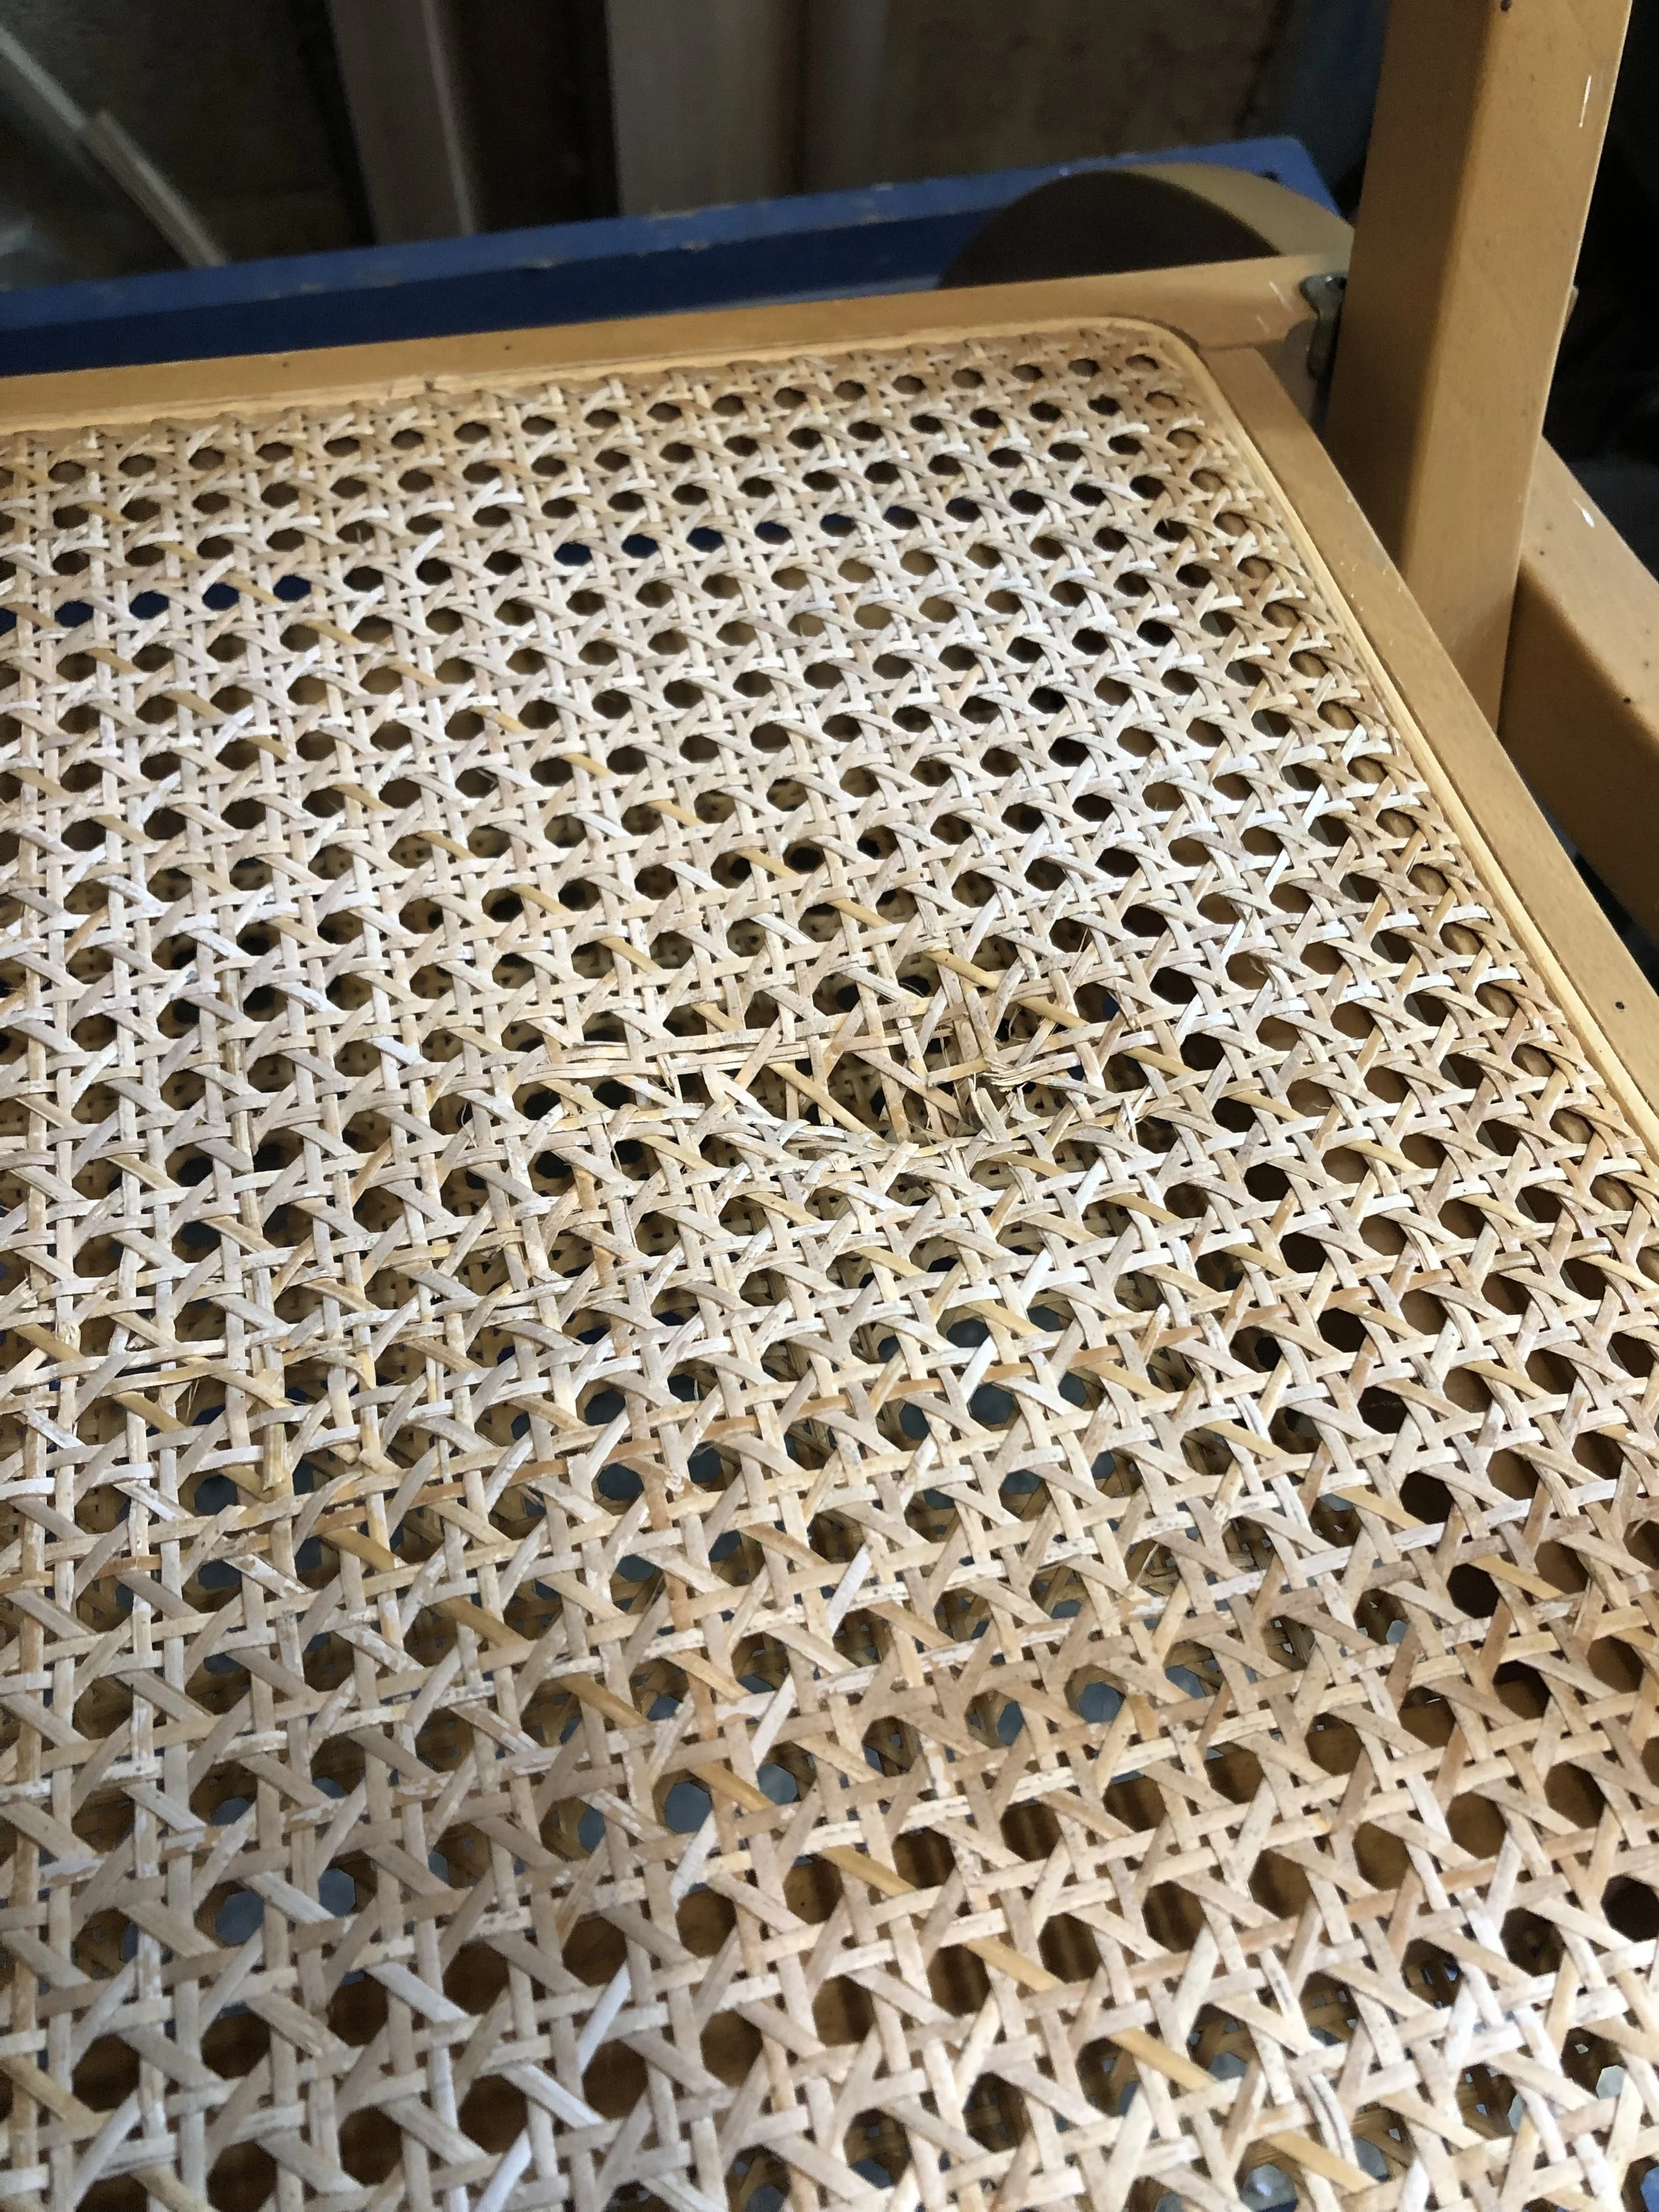
I bought this steamer chair at an auction last week, why oh why do I always put my paddle up when I haven’t looked at the item... but it was only £10....
Anyway when I picked it up, there was a lovely hole on the wicker seat (they didn’t charge extra for that), bugger I thought. I have never attempted replacing a wicker seat before so I thought I would have a go.
The first step was trying to find a supplier, I did find seat replacement kits on Amazon, but they were stupidly expensive, eventually I came across Somerset Willow Growers Ltd., they supplied the cane webbing and the beading, it was still expensive, but a lot cheaper than Amazon or eBay, plus I liked their website.

So the first job was to remove the broken webbing, this meant chiselling out the old beading, cutting out the webbing then making good the channel by removing all the old glue and crud.
This was a lot harder than I expected and took me a good couple of hours, with a hammer and various sized chisels (I must admit, my chisels had not been out of the toolbox for a VERY long time, so I simply had to re-sharpen them before I did anything else). Once I had a clean channel all the way round I could move onto the next step.


So according to the YouTube video I was watching, I had to soak the webbing and beading for 20-30 minutes before using it. This caused a little problem, as it didn’t fit in the sink, plus we seem to have lost the plug for it, so the next option was to use the bath, (I think this is the first time in about 6 years I have put any water in the bath as we both have showers). As you can see in the picture, I was fairly inventive on finding things to keep the webbing under water LOL.
With the wicker nice and wet I could move onto the next stage.
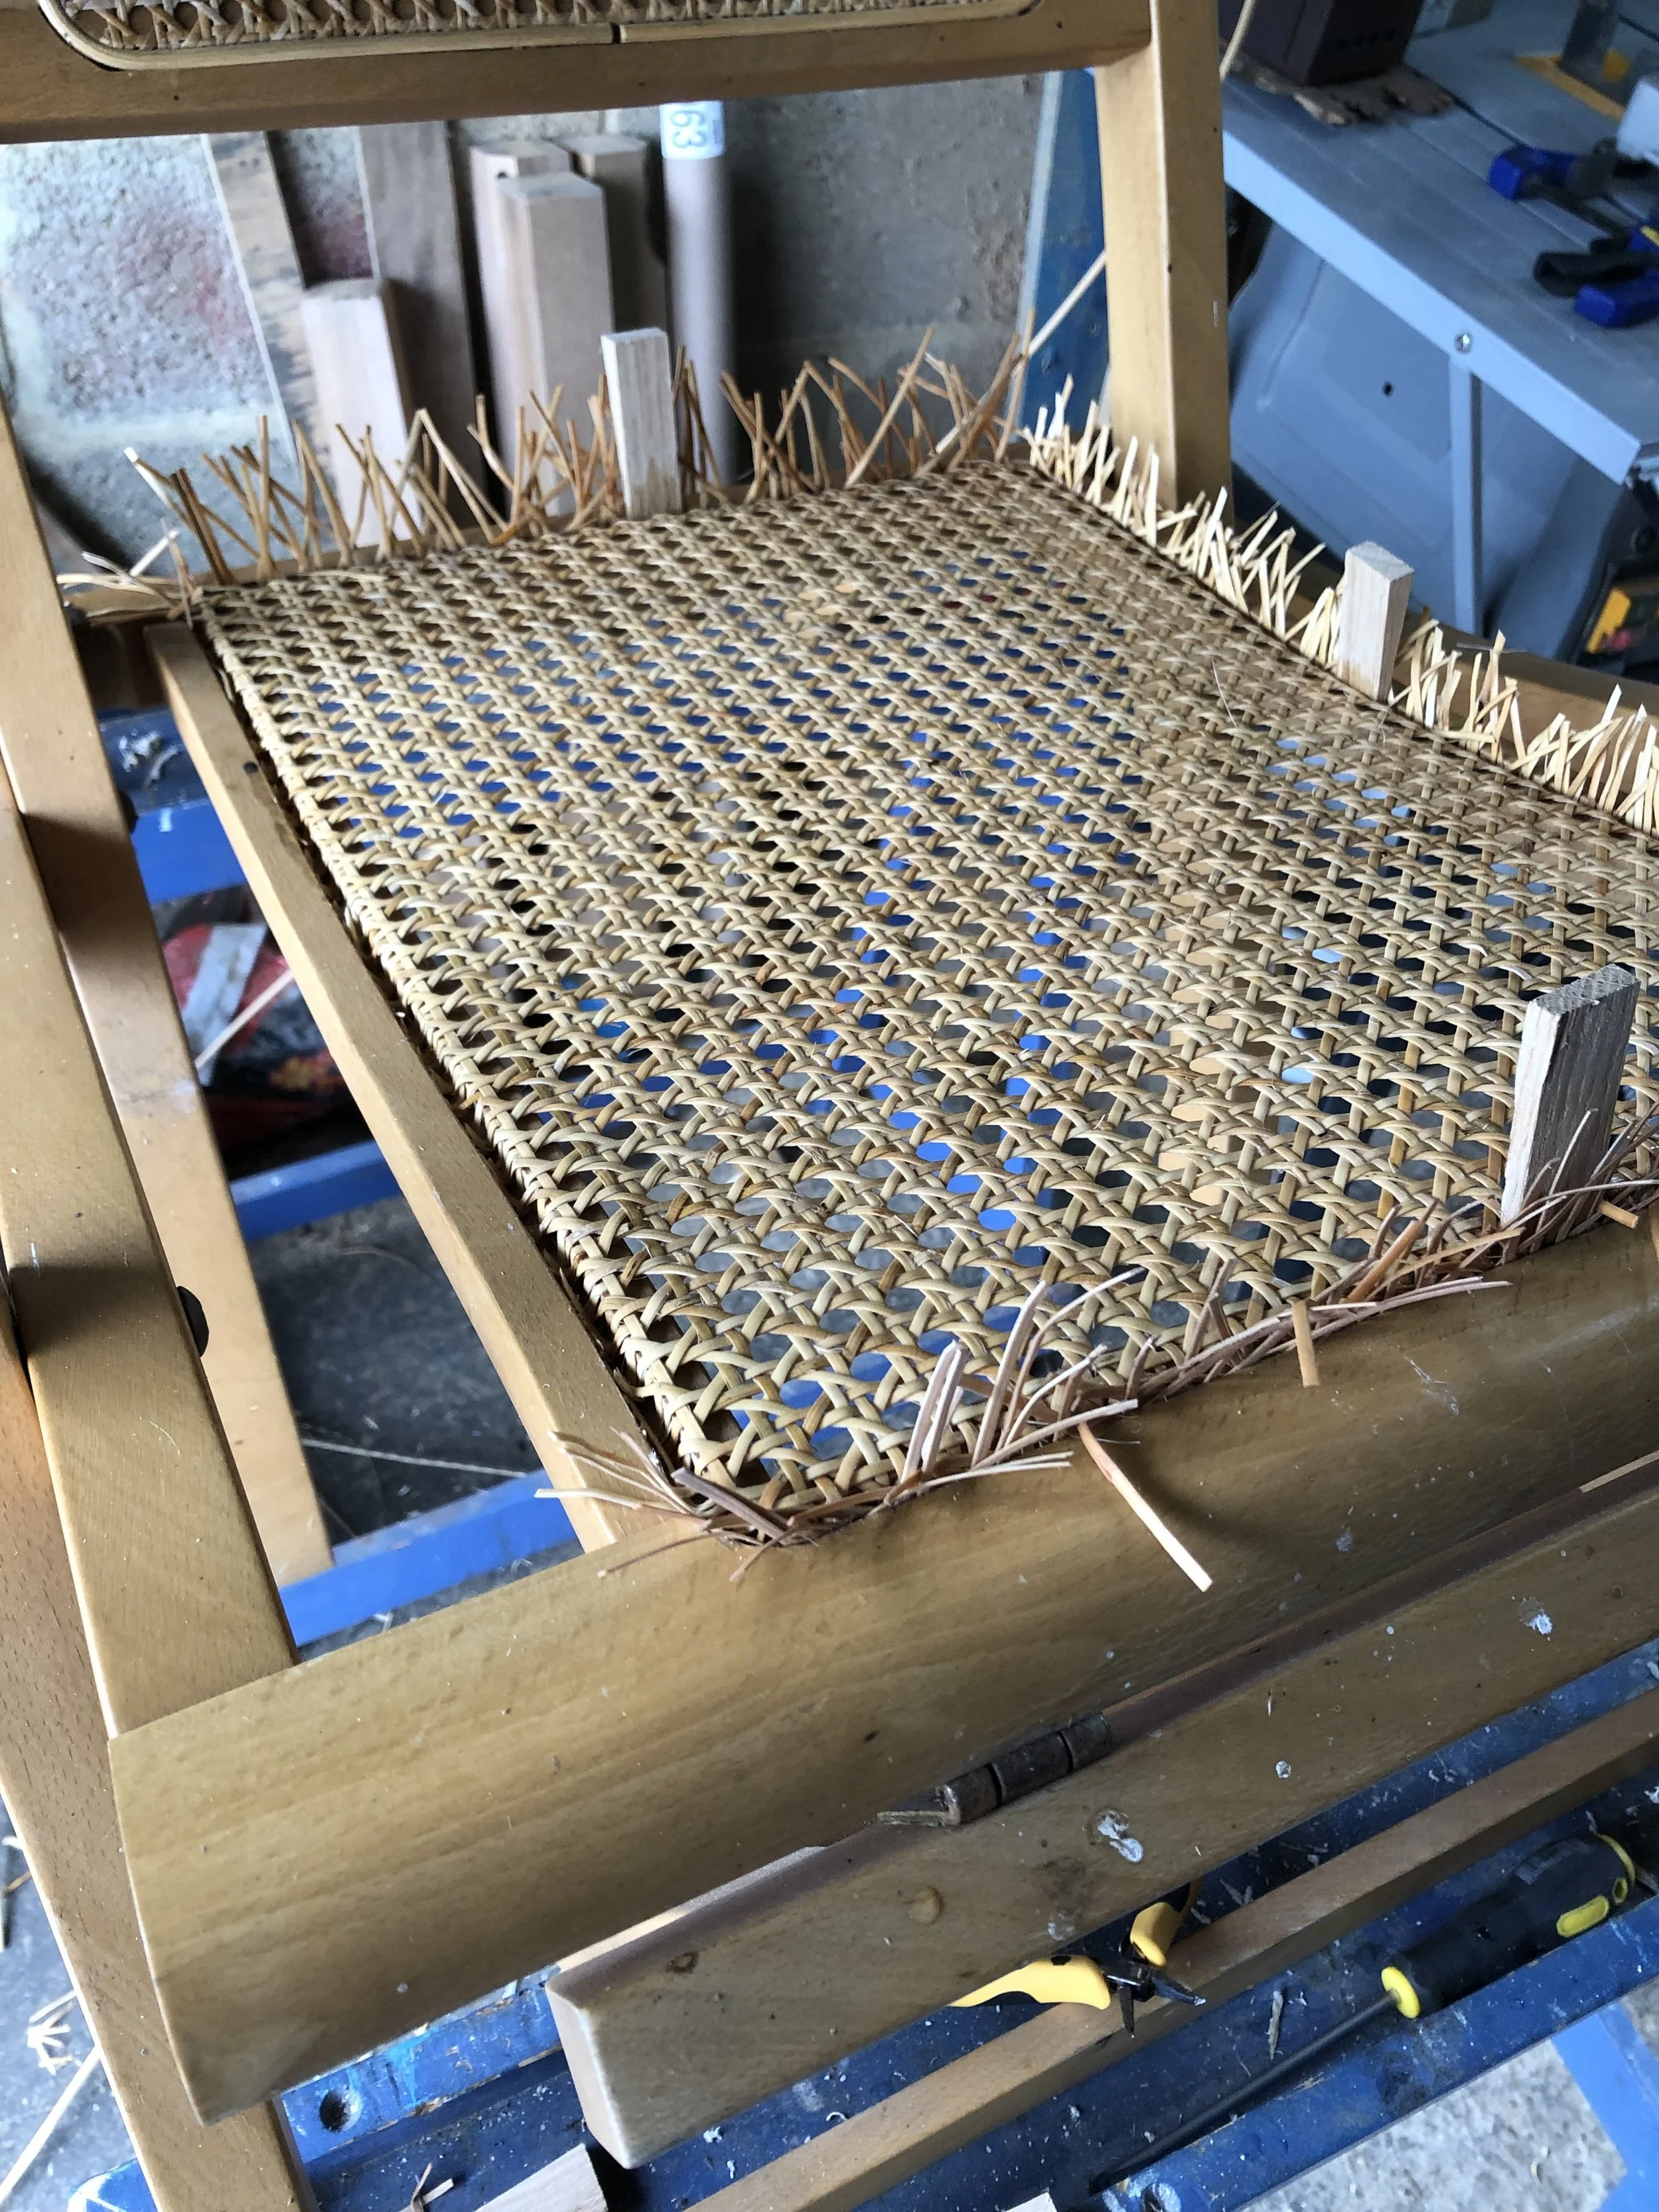
I made some nice oak wedges to use in the process, setting out the cane webbing to get the seat nice and square in the frame, I began by wedging the front in place, then the sides (the seat had a curve front to back, so I could not do front, back then sides), finally the back was positioned. Using an oak wedge, pressed the cane into the groove and using a sharp chisel, removed the excess. Once the webbing was in place, all that was left to do was to apply some glue, then hammer the beading on top to make everything secure.
I am really pleased with my first attempt at replacing a wicker seat, and will be happy to do it again.
Have a great day every one.
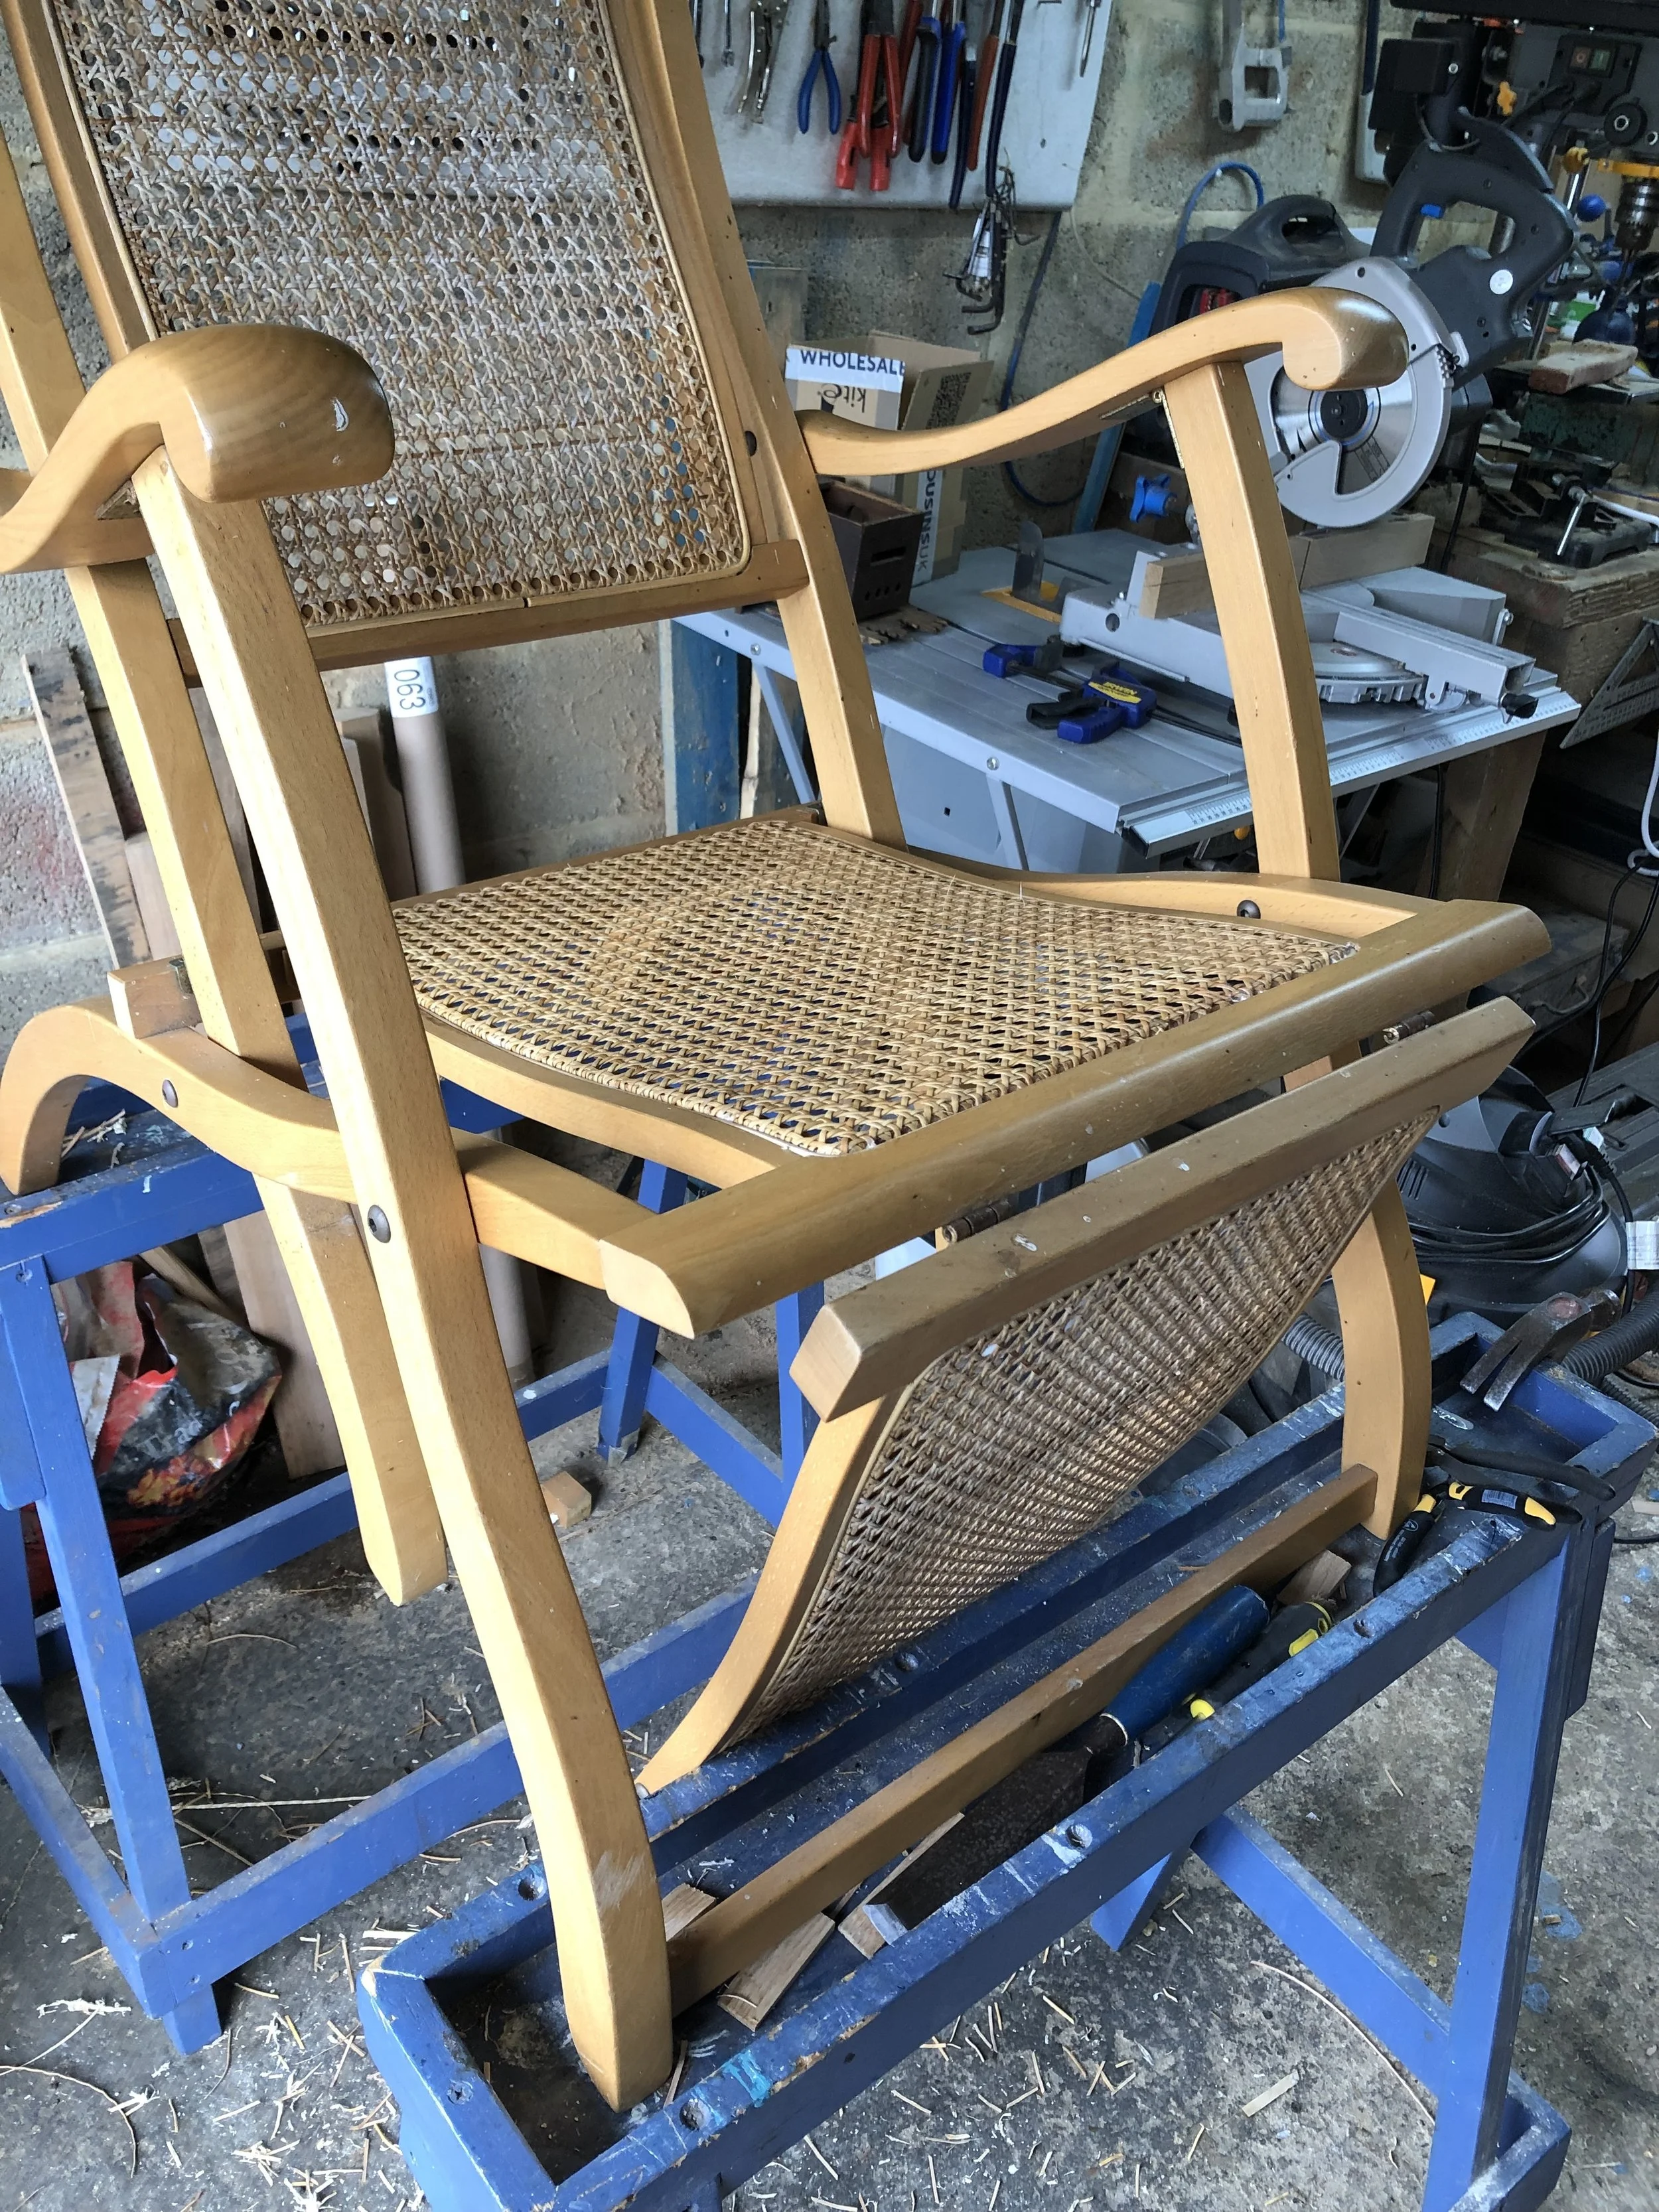
Completed seat replacement of a steamer chair.